The Digital Bunker: Command Line Comfort
Turn your scripts into native commands using Bash aliases
von Alien Investor
#Bash #Linux #Termux #GrapheneOS #Encryption #OPSEC #Aliases #Sovereignty
────────────────
„Complexity is the enemy of security. But friction is the enemy of adoption.“
────────────────
If protecting your data feels like a chore — typing long paths like ~/Scripts/encrypt-folder.sh every time — you might skip it “just this once.” That is when you get vulnerable.
In Part 1 and 2, we built robust encryption scripts. Now, we integrate them into your system so they feel like native commands.
We don’t need GUIs or taskbar icons. We use aliases.
────────────────
The Concept
An alias is simply a custom nickname for a command line instruction. Instead of typing the full path to your script, you just type encrypt. The shell handles the rest.
This works the same way on your Linux desktop and inside Termux on GrapheneOS.
────────────────
Step 1: Locate Your Config
Your terminal (shell) has a configuration file that loads every time you open a new shell session.
Bash users (common on most Linux/Termux): ~/.bashrc
Zsh users (default on macOS; common on some Linux setups): ~/.zshrc
To find out what you are running:
echo $SHELL
────────────────
Step 2: Set the Alias
Open your config file with a text editor.
On Termux or standard Ubuntu/Debian (Bash):
nano ~/.bashrc
Scroll to the very bottom and paste the following lines:
# --- Alien Investor Security Aliases ---
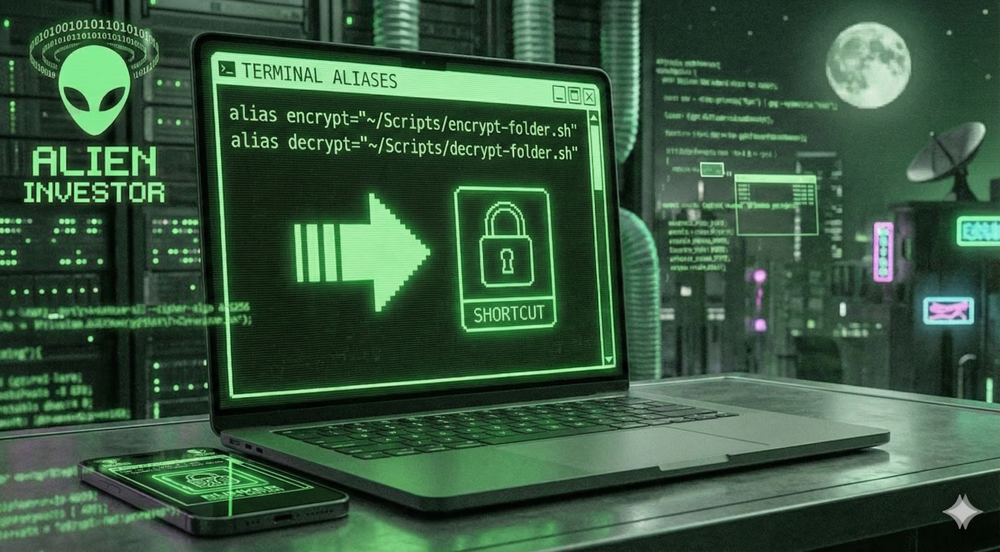
alias encrypt="~/Scripts/encrypt-folder.sh"
alias decrypt="~/Scripts/decrypt-folder.sh"
Make sure the scripts are executable:
chmod +x ~/Scripts/encrypt-folder.sh ~/Scripts/decrypt-folder.sh
Save the file (CTRL+O, Enter) and exit (CTRL+X).
────────────────
Step 3: Activate
Reload the configuration (or simply restart your terminal).
Bash:
source ~/.bashrc
Zsh:
source ~/.zshrc
────────────────
The Result
Now, your workflow is seamless.
To Encrypt:
encrypt
To Decrypt:
decrypt
By reducing the friction of entry, you make security muscle memory — not a task.
────────────────
The Digital Bunker Series
👉 Part 1 — Desktop Sovereignty (Linux): https://primal.net/Alien-Investor/the-digital-bunker-scripting-sovereignty 👉 Part 2 — Mobile Sovereignty (GrapheneOS/Termux): https://primal.net/Alien-Investor/the-mobile-bunker-encryption-on-grapheneos-termux-edition
────────────────
🧰 Tools for True Owners (Affiliates — Support at No Extra Cost)
Tools I use myself — for Bitcoin self-custody and digital sovereignty:
📕 Alien Investor Guides: My own eBook “GrapheneOS: Android in the Surveillance Age” — the complete step-by-step guide to hardening your phone against the surveillance state. 👉 https://alien-investor.org/buecher
🔧 Alien Phone Service — GrapheneOS professionally installed and configured, delivered to your door. No flashing required. Bitcoin or Fiat. 👉 https://alien-investor.org/en/grapheneos-flash-service.html
💥 21bitcoin: Bitcoin-only app from Europe, ideal for DCA and stacking sats regularly — no shitcoins. Use code ALIENINVESTOR for a permanent 0.2 percentage point fee reduction on instant and savings plan purchases. 👉 https://alien-investor.org/21bitcoin
₿ BitBox: Hardware wallet for secure self-custody. I use the BitBox — available as the classic BitBox02 and the new BitBox for iPhone (Nova). Use code ALIENINVESTOR for 5% off. 👉 https://alien-investor.org/bitbox
🛡️ Proton: Swiss all-round protection for email, VPN, and cloud — privacy-first, no Big Tech dependency. 👉 https://alien-investor.org/proton
Disclaimer: Some of these links are affiliate links. If you use them, you support my work at no extra cost to you. Thank you!
────────────────
Money, power, Bitcoin — and OPSEC. I write about financial sovereignty, privacy, and cybersecurity in a world built on control. More at alien-investor.org 👽
Write a comment