How Apparel Brands Should Prep Artwork Before Digitizing
- Why Artwork Prep Matters Before Sending Files to a Digitizer
- File Formats Apparel Brands Should Provide
- Sizing and Placement Details Brands Should Lock In Early
- Fabric and Garment Type Considerations
- What to Include in a Digitizing Brief for Faster Approval
- Common Artwork Mistakes That Slow Down Bulk Orders
- FAQs
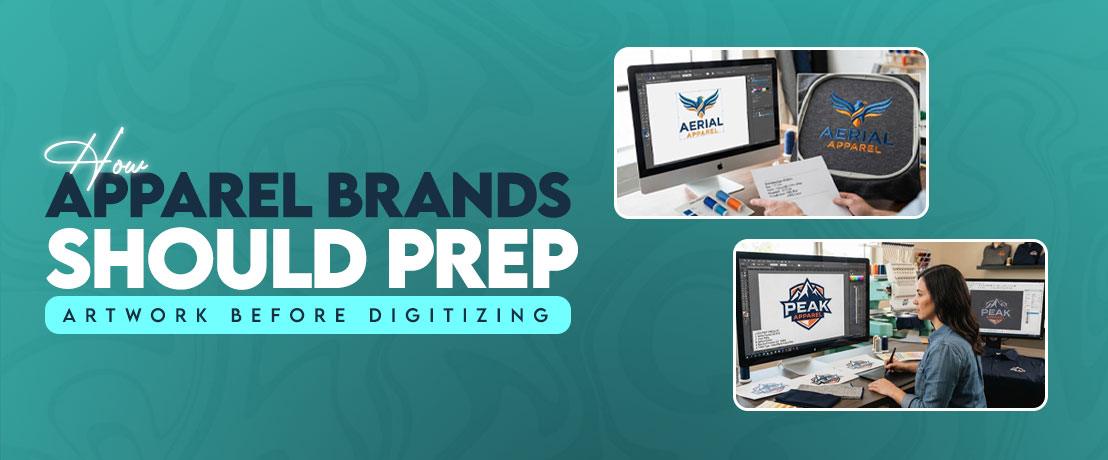
A logo can look perfect on a screen and still cause trouble once you start preparing it for embroidery. Before sending artwork for custom embroidery digitizing, apparel brands need to think about size, fabric, colors, and placement. A clean jpg to embroidery file project starts with clean artwork, while embroidery file conversion comes later in the process.
I have worked with enough logos to know that the artwork itself can save hours of back-and-forth. A sharp vector file with clear colors and a fixed size gives a digitizer much more to work with than a small, blurry image. Basically, the better the brief, the fewer guesses someone has to make later.
Why Artwork Prep Matters Before Sending Files to a Digitizer
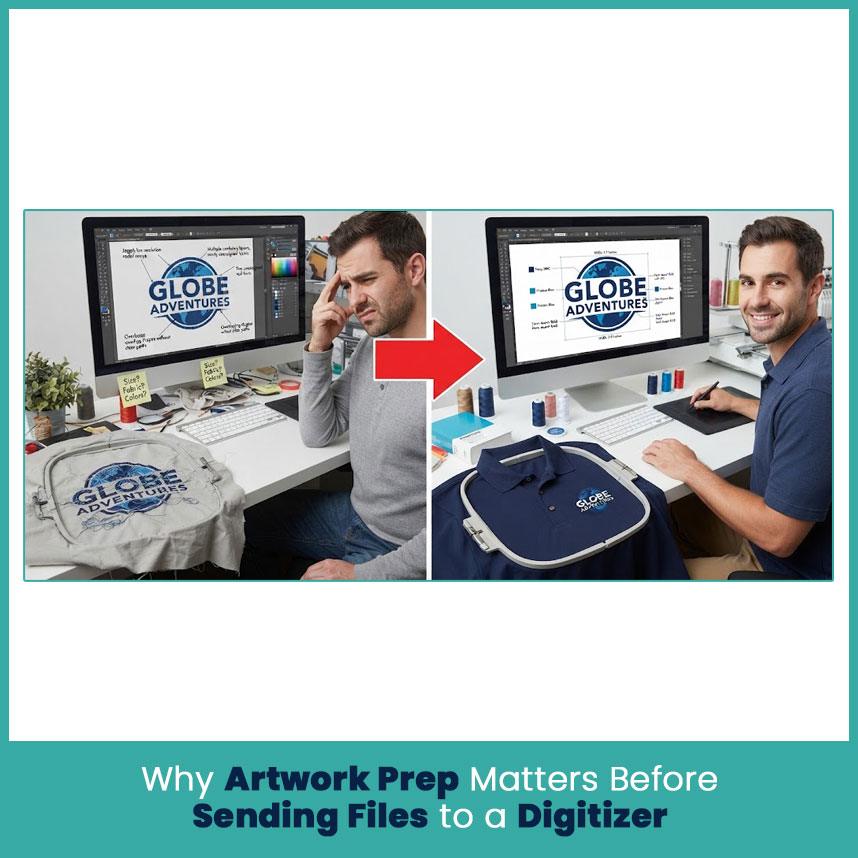
Artwork preparation may seem like a small step, but it affects almost every decision that follows. A logo may have thin lines, tiny letters, overlapping shapes, or colors that look different on screen than they do in thread.
When those details remain unclear, revisions become harder to avoid.
How Poor Prep Leads to Extra Revision Rounds
A digitizer can’t always know what the brand owner intended from a single image.
For example, imagine a logo with two shades of blue. If the artwork does not include the brand color references, the digitizer has to make a visual judgment. The same thing happens when a brand sends a logo without saying whether the final design should measure 2.5 inches or 4 inches wide.
Small details can create even more confusion.
Common problems include:
- Low-resolution logos
- Missing color information
- Text with no specified font
- Unclear final dimensions
- Several logo versions in one file
- Thin lines that may not work well at the requested size
- Artwork with a background that should not be embroidered
- No information about the garment or fabric
I have seen a simple logo take much longer than expected simply because nobody confirmed these details at the start.
How Good Prep Speeds Up Turnaround Time
A useful artwork package answers the basic questions before the digitizer has to ask them.
Give the exact size, placement, garment type, preferred colors, and final machine format whenever you know them. If the artwork contains text, identify the correct wording and point out anything that must stay unchanged.
That gives the digitizer a clear starting point.
It also makes approval easier because everyone works from the same information instead of making separate assumptions.
File Formats Apparel Brands Should Provide
The best artwork format depends on what the brand already has. Still, vector artwork usually gives a digitizer more useful information than a small raster image.
Adobe lists AI, EPS, SVG, and PDF among its vector-oriented artwork formats, while raster images such as PNG and JPG use pixels.
Vector Files vs Raster Images
Vector artwork uses paths and shapes rather than a fixed grid of pixels. That makes it easier to inspect clean edges, separate shapes, and prepare a logo for different sizes.
Raster artwork uses pixels. A high-quality PNG can still be useful, but a small image can become blurry when enlarged.
Here is the simple difference:
- Vector: AI, EPS, SVG, and some PDFs can contain scalable vector artwork.
- Raster: PNG and JPG are pixel-based image formats.
- Best starting point: A clean vector logo usually gives the digitizer more control.
- Still useful: A high-resolution PNG can help when vector artwork does not exist.
Don’t assume every PDF contains vector artwork. Some PDFs simply contain a placed image. The file extension alone does not tell you what sits inside the file.
Acceptable Formats (AI, EPS, SVG, PDF, PNG)
If your design team has the original Illustrator artwork, send the editable AI file when practical. Adobe describes AI as Illustrator’s native vector format.
EPS, SVG, and vector-based PDF files can also be useful. A high-resolution PNG works as a backup when the original vector artwork is unavailable.
Before sending anything, open the file and check what it actually contains.
A PDF with a sharp vector logo is much more useful than a PDF containing a tiny JPG placed on a page.
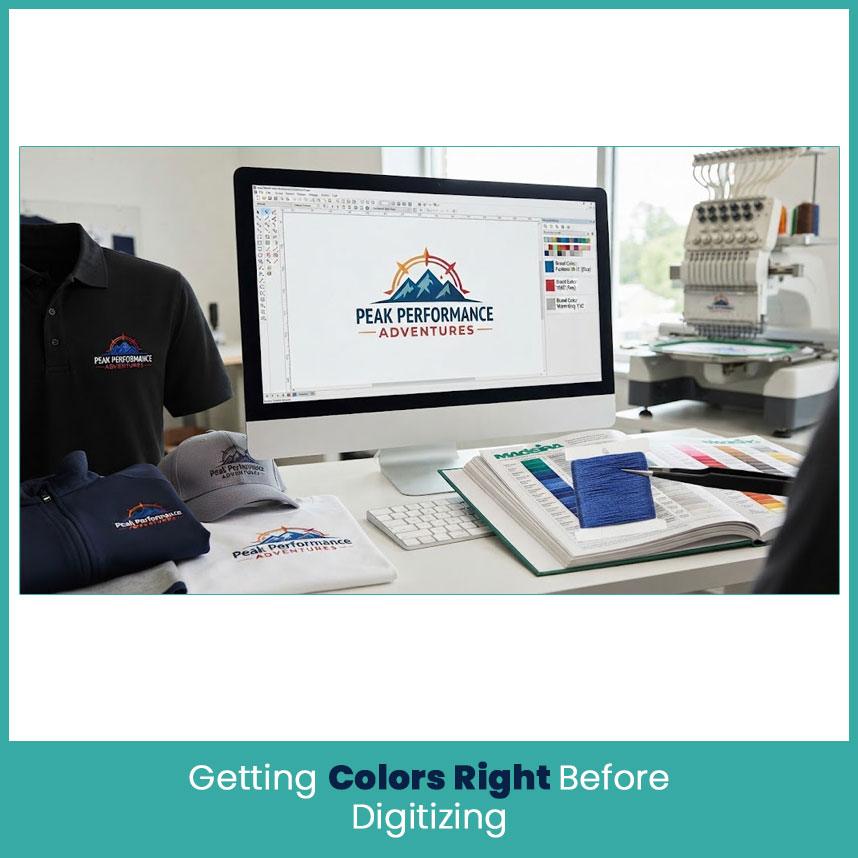
Color creates one of the most common misunderstandings between digital artwork and embroidery.
A color on a monitor comes from light. Thread has a physical surface, so the same color name may not look identical when stitched.
Matching Brand Colors to Thread Charts
If your apparel brand has established colors, provide the actual color references instead of simply writing “dark blue” or “bright red.”
A useful color package can include:
- Pantone references, when available
- Brand color codes
- Original vector artwork
- Preferred thread brand or chart, when already selected
- Notes about colors that must remain visually distinct
Thread charts become especially helpful when a logo contains several similar shades.
For a brand that uses the same logo across shirts, hats, jackets, and uniforms, keeping color decisions consistent from the beginning can save repeated adjustments later.
Limiting Colors for Cleaner Stitching
More colors don’t automatically create a better embroidered logo.
If two shades look almost identical, combining them may create a cleaner design. That decision depends on the logo, brand rules, size, and garment.
A useful question is not simply, “How many colors does the artwork have?”
Ask instead:
Which colors need to remain separate for the logo to stay recognizable?
That small change in thinking can make the digitizing process much more practical.
Sizing and Placement Details Brands Should Lock In Early
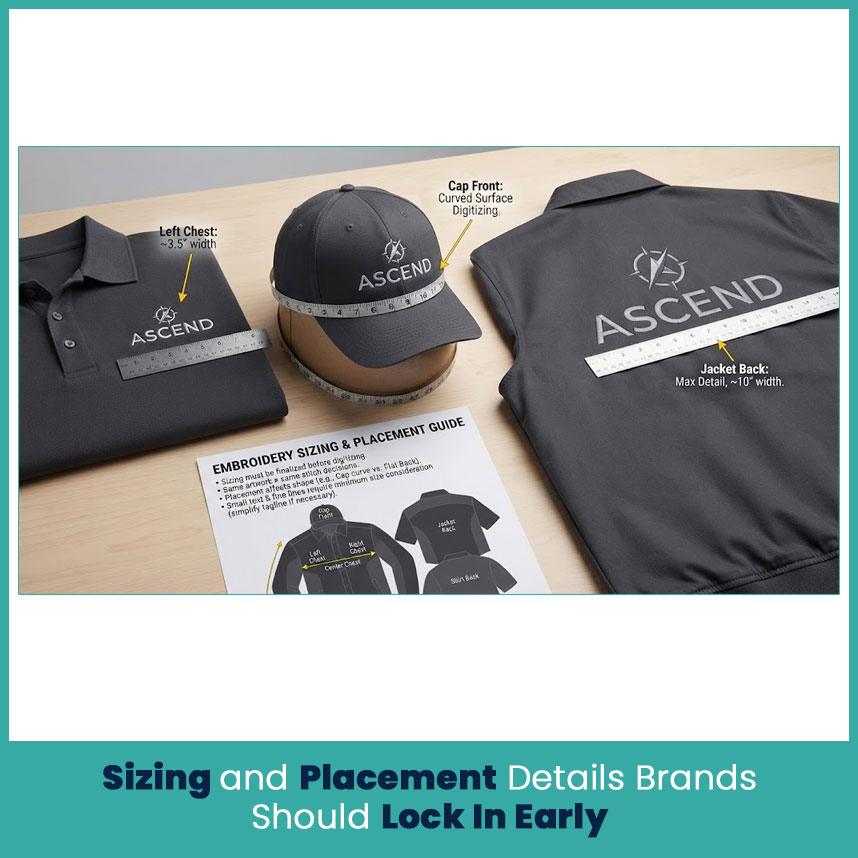
A logo needs a final size before anyone can make good stitch decisions.
A small chest logo and a large back logo may use the same artwork, but they do not necessarily need the same digitizing approach.
Standard Placement Zones (Chest, Cap, Sleeve, Back)
Tell the digitizer where the logo will go.
Common apparel locations include:
- Left chest
- Right chest
- Center chest
- Cap front
- Sleeve
- Jacket back
- Shirt back
- Pocket area
Placement also affects the shape of the design.
A cap front has a curved surface and limited space. A sleeve can introduce its own size and orientation issues. A large back logo has more room for detail than a small chest mark.
This is why saying “use the same logo everywhere” doesn’t always mean using the exact same stitch setup everywhere.
Minimum Size for Small Text and Fine Lines
Small lettering deserves special attention.
A letter that looks clear on a computer can become difficult to read when reduced to a small embroidered size. Thin strokes can lose definition, while tight spaces inside letters can close up.
Before digitizing, decide which words are actually important.
If a tagline becomes too small to read, removing or simplifying it may create a stronger logo than trying to force every character into a tiny space.
The same applies to fine lines. A line that looks elegant in vector artwork may need more practical treatment when it becomes thread.
Fabric and Garment Type Considerations
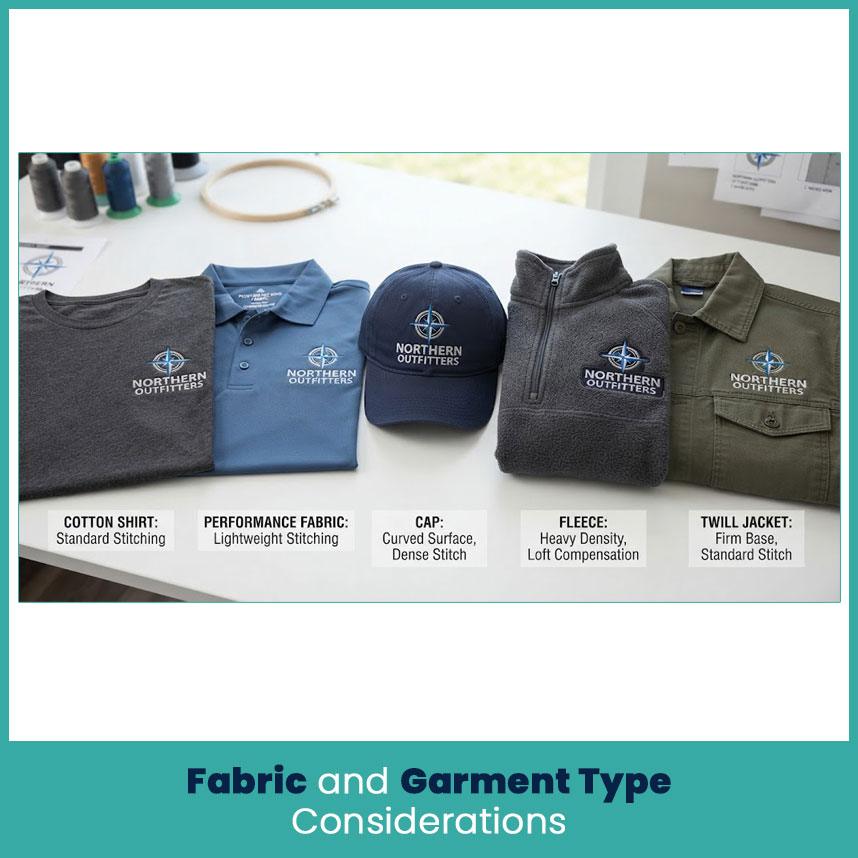
One of the biggest mistakes apparel brands make is treating the logo as if it will look the same on every garment.
It will not.
Why the Same Logo Digitizes Differently on Different Fabrics
A firm twill jacket behaves differently from a soft knit shirt. A stretchy performance garment behaves differently from a structured cap.
The digitizer needs to know the material because fabric movement can affect how stitches sit.
For example:
- Cotton shirts: Usually need a different approach from highly stretchy garments.
- Performance fabrics: May need careful handling because the material can move more easily.
- Caps: Have curved surfaces and limited areas for detail.
- Fleece: Has a raised surface that can affect small details.
- Jackets and twill: Can provide a firmer base for certain designs.
I always recommend giving the garment information before the design gets finalized. It is much easier to make sensible stitch decisions when the digitizer knows where the logo will actually go.
What to Include in a Digitizing Brief for Faster Approval
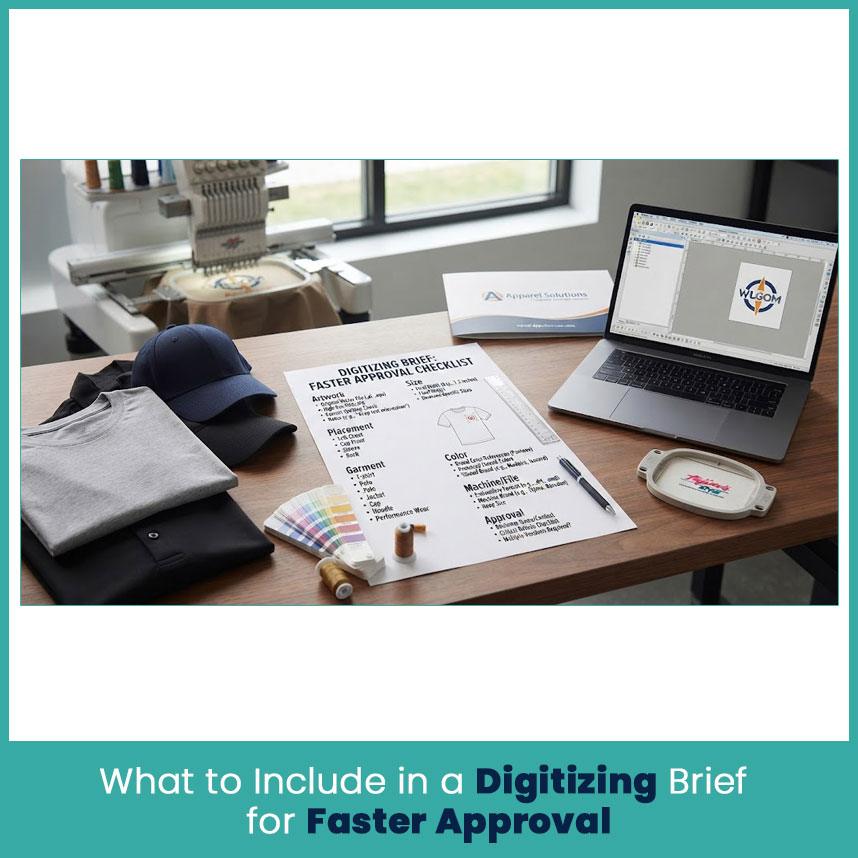
A good brief doesn’t need to be complicated. It just needs to answer the questions that affect the design.
Sample Brief Checklist for Apparel Brands
You can send a brief like this:
Artwork
- Original logo file
- Highest-quality PNG or JPG if vector artwork is unavailable
- Correct spelling of all text
- Notes about elements that must remain unchanged
Size
- Final width
- Final height, if important
- Different sizes for different garments
Placement
- Left chest
- Cap front
- Sleeve
- Back
- Other specific location
Garment
- T-shirt
- Polo
- Jacket
- Cap
- Hoodie
- Performance wear
Color
- Brand color references
- Preferred thread colors
- Number of colors, if already decided
Machine/File
- Machine brand and model, when relevant
- Required embroidery format
- Hoop or frame size when it affects the design
Approval
- Who reviews the sample
- Which details need special attention
- Whether the design needs separate versions for different garment types
This kind of brief is simple, but it removes a lot of guesswork.
Common Artwork Mistakes That Slow Down Bulk Orders
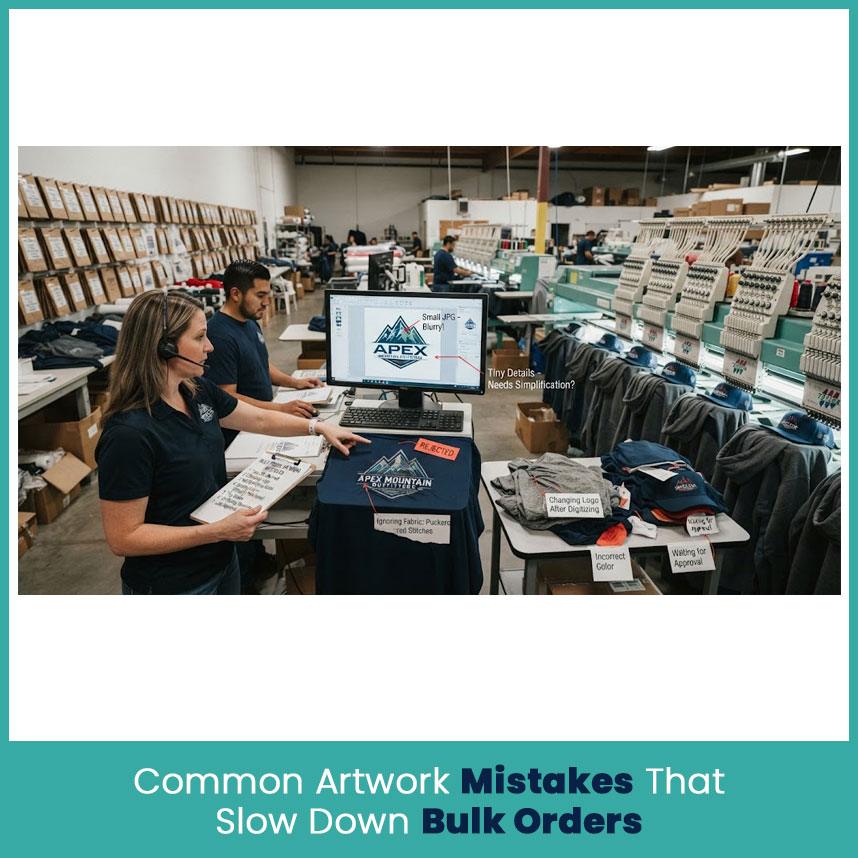
Bulk apparel orders need consistency. Small artwork problems become much harder to manage when the same logo appears across hundreds of garments.
Watch for these mistakes:
Sending only a tiny JPG:
A small image may hide important details and make shape tracing harder.
Changing the logo after digitizing starts:
If the brand changes the font, color, wording, or shape halfway through the process, the design may need additional work.
Not specifying final sizes:
Different garment locations can require different versions.
Ignoring the fabric:
A logo designed for a firm material may need adjustments for a stretchy shirt or curved cap.
Using too many tiny details:
Small elements may not remain clear when translated into stitches.
Providing several conflicting logo versions:
Always identify which artwork represents the current brand version.
Waiting until the last minute to approve artwork:
Bulk orders need enough time for review and any necessary corrections.
One thing I have learned from working with apparel artwork is that a clean file is only part of the job. The advantage comes from giving the digitizer enough information to understand how the logo should look, where it will sit, and what material will carry it.
FAQs
What file format should apparel brands send for digitizing?
A clean vector file such as AI, EPS, SVG, or a vector-based PDF is a strong starting point. A high-resolution PNG can work when vector artwork is unavailable.
How many colors should a logo have before digitizing?
There is no single correct number. Keep the colors that matter to the brand and simplify close or unnecessary shades when the final size makes them hard to distinguish.
Can brands submit a PNG instead of a vector file?
Yes. A clear, high-resolution PNG can give a digitizer a useful starting point, although clean vector artwork usually provides more control over shapes and edges.
How much lead time should brands give for bulk digitizing orders?
Give enough time for artwork review, digitizing, sample checking, revisions, and final approval before the apparel order deadline. The exact time depends on the number and complexity of designs.
Author Bio
Matthew Davis
Senior Embroidery Digitizer
I’m Matthew Davis, a skilled embroidery digitizer with more than 15 years of practical experience. I specialize in logo digitizing, 3D puff embroidery designs, applique digitizing, custom embroidery digitizing, and working with difficult fabrics.
Over the years, I have worked with different fashion brands and production teams worldwide. I always share simple tips and useful techniques to help both beginners and businesses improve their embroidery work.
Write a comment